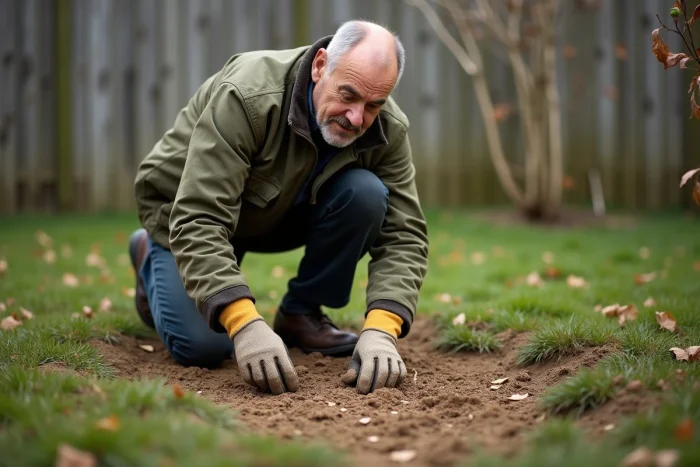
Visible grass seeds on the surface several days after sowing indicate a soil-seed contact issue. The problem almost never stems from seed quality: it is the preparation of the seedbed and water management in the initial hours that determine whether the seed anchors or remains exposed.
Soil-seed contact: the parameter that rolling alone does not resolve
A grass seed needs close physical contact with soil particles to absorb water through capillarity. Without this contact, it remains dry on the surface, even under regular rainfall.
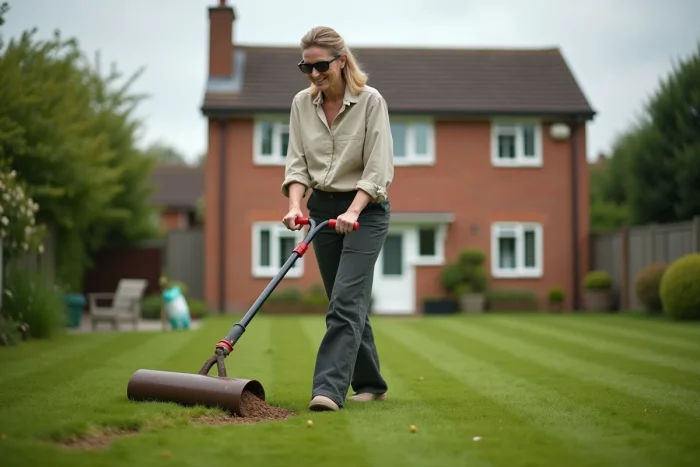
Rolling after sowing improves the situation, but it is not sufficient for all soil types. On a loamy or crusty soil, rain seals the surface into a crust and the seeds rise due to the effect of crusting with the first heavy downpour. On very loose sandy soil, the roller poorly embeds the seeds because the substrate immediately loosens.
We regularly observe that the real lever is upstream: the grain size of the seedbed. Too coarse raking leaves clumps of several centimeters between which the seed falls without settling. Conversely, too fine raking creates a smooth surface that promotes runoff. To find explanations on grass seeds on the surface suitable for your type of terrain, the nature of the soil remains the primary criterion to analyze.
The goal is to achieve a surface structure composed of small aggregates (a few millimeters) in which the seed can nestle. Passing a short-toothed rake, followed by sowing, then a second pass of a light rake perpendicular to the first, and finally rolling, yields a significantly more reliable result than the classic “sow then roll” scheme.

Post-sowing watering: why short cycles worsen seed flotation
Watering remains the most poorly managed aspect after grass sowing. The common reflex is to water little but often, sometimes several times a day, to keep the surface moist. This strategy produces the opposite effect of what is desired.
Frequent and superficial watering causes seed flotation: water briefly stagnates on the surface, lifts the seeds, and then evaporates, leaving them exposed. Technical trial feedback from Arvalis-Institut du végétal on the establishment of grasses confirms that more spaced but longer watering sessions stabilize the seed better in the first millimeters of soil.
We recommend a generous first watering just after sowing and rolling, sufficient to moisten the first centimeters of soil. On subsequent days, the frequency depends on actual evapotranspiration, but the principle remains the same: each application must penetrate the soil, not just wet the surface.
Signs of poorly calibrated watering
- Temporary puddles form on the ground, even briefly, then disappear, leaving the seeds exposed on a smooth crust.
- The soil dries on the surface between waterings to the point of whitening, indicating that water is not penetrating deeply enough to maintain capillarity.
- Seeds accumulate in low areas of the terrain, carried away by runoff, while high areas remain bare.
Protective cover after sowing: mulch, sifted compost, and cellulose fibers
Since the implementation of the Labbé law (expanded in 2018 and effective for most uses since 2019), chemical treatments post-sowing are no longer an option for individuals. Seed manufacturers now recommend physical protective covers to keep the seeds in place.
Three materials work effectively:
- Very sifted compost (mesh smaller than one centimeter), spread a few millimeters after sowing, retains moisture and holds the seed without suffocating it.
- Fine mulch such as crushed straw or miscanthus creates micro-shading that reduces evaporation and slows runoff.
- Cellulose fibers (hydromulch), often used in professional green spaces, literally stick the seed to the soil by forming a film permeable to water and air.
The choice depends on the area. In a small garden, sifted compost is sufficient. In a larger area exposed to wind or slope, cellulose fibers offer the best mechanical hold and justify the additional cost.
Soil temperature and germination window for grasses
Sowing at the right time does not mean sowing when the calendar indicates. Soil temperature, measured a few centimeters deep, conditions germination much more than air temperature.
Grass species (ryegrass, fescues, poa) need a soil temperature consistently maintained above a minimum threshold for several consecutive days. When the soil is too cold, the seed remains dormant on the surface without anchoring, exposed to wind and birds for unnecessarily long weeks.
Sowing on still cold soil prolongs the vulnerability phase of the seed on the surface. Waiting for the soil to warm up sustainably reduces this delay and limits losses.
Check the temperature without expensive equipment
A kitchen thermometer pushed three or four centimeters into the soil, read in the morning before the sun heats the surface, provides a reliable measurement. We recommend repeating the measurement three consecutive mornings to confirm the trend.
A soil that appears warm on the surface at noon may still be well below the germination threshold at dawn. It is this morning temperature that matters, not the afternoon one.
The last point to keep in mind: a well-prepared seedbed, an appropriate cover, and deep watering resolve the vast majority of cases of seeds remaining on the surface. The problem is almost always mechanical and hydric, rarely biological.